Abp vNext&Vue(1)实现登录功能
vue3框架选择
这里选用的是vbenjs的开源框架vue-vben-admin,vite+vue3+typescript。样式也非常好看,完美契合我的需求。
框架文档:Home | Vben Admin (vvbin.cn)
具体实现
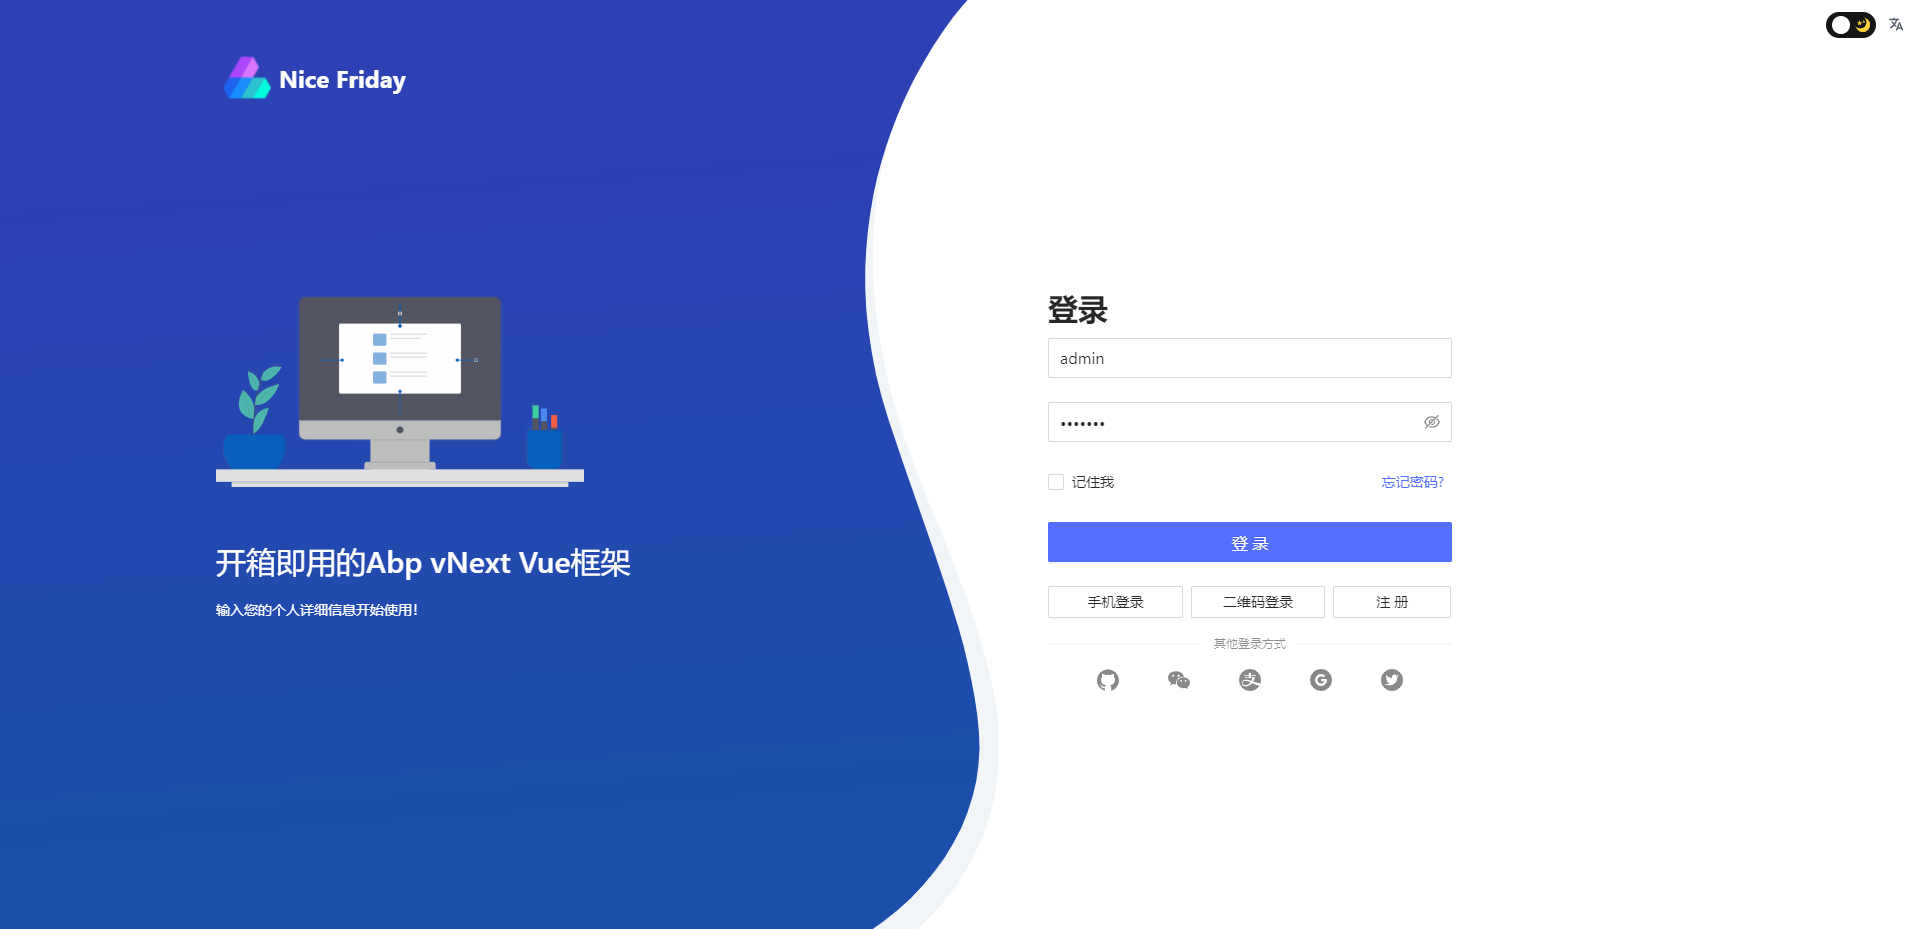
按照惯例,先给项目跑起来,yarn install 、yarn run dev即可。如下图

1、获取登录接口
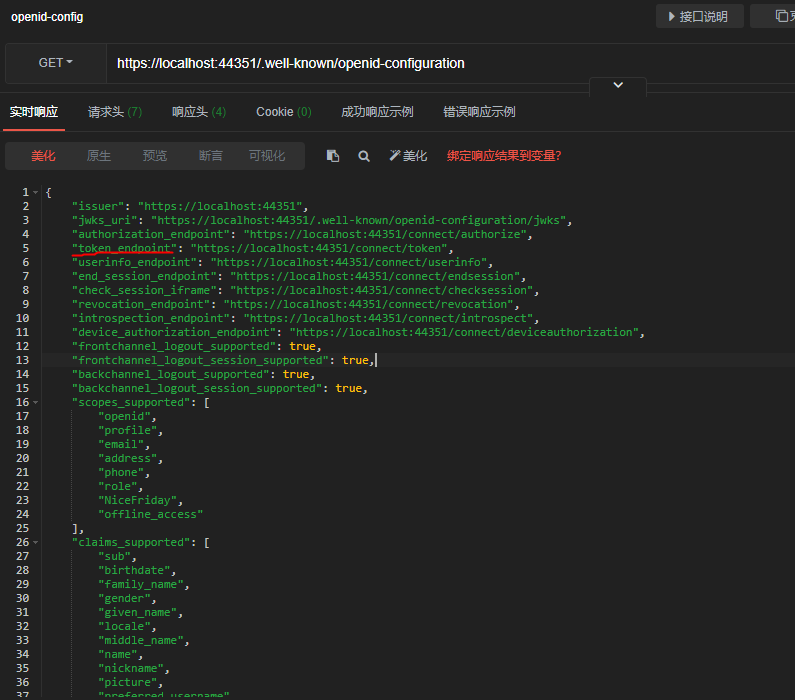
abp的登录接口并没有在Swagger页面上展示,由于使用的IdentityServer4,所以查看IdentityServer4的发现文档后找到token接口地址为/connect/token。
因为ABP的授权模块是使用IdentityServer4,所以IdentityServer4的一些默认端点在ABP里也是同样有效的,可以参考下IdentityServer4官网。运行ABP模板项目,看一下IdentityServer4发现文档,uri是:
/.well-known/openid-configuration

发现文档返回结果
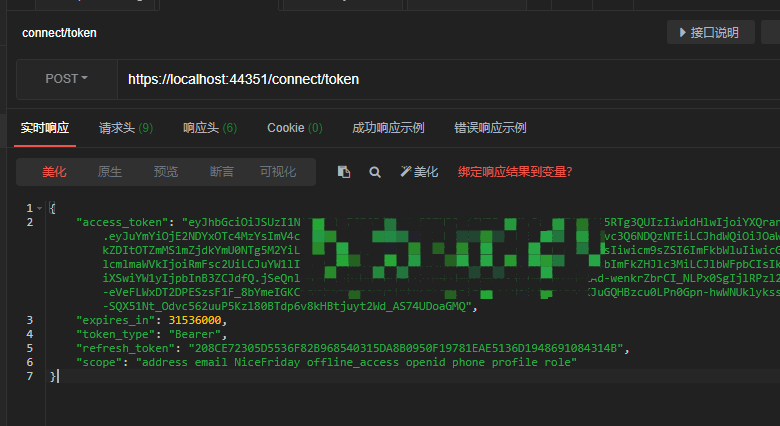
connect/token接口参数如下图,需注意Content-Type要改为application/x-www-form-urlencoded;charset=UTF-8。
接口参数

connect/token返回接果

2、Vue项目修改
找到/store/modules/user.ts文件,修改如下
async login(
      params: LoginParams & {
        goHome?: boolean;
        mode?: ErrorMessageMode;
      },
    ): Promise<CurrentUserDto | null> {
      try {
        const { goHome = true, mode, ...loginParams } = params;
        // 新增-----------------------
        const abpParams = {
          username: loginParams.username,
          password: loginParams.password,
          grant_type: 'password',
          client_id: 'NiceFriday_App',
          client_secret: '',
          scope: '',
        };
		// 结束-----------------------
        const data = await loginApi(abpParams, mode);
        const { access_token } = data;
        // save token
        this.setToken(access_token);
        return this.afterLoginAction(goHome);
      } catch (error) {
        return Promise.reject(error);
      }
    },
    // 修改获取用户信息方法,读取api/abp/application-configuration接口
    async getUserInfoAction(): Promise<CurrentUserDto | null> {
      if (!this.getToken) return null;
      const appConfig = await ApplicationConfiguration();
      console.log(appConfig);
      const { currentUser, auth } = appConfig;
      this.setGrantedPolicies(auth.grantedPolicies);
      const { roles = [] } = currentUser;
      if (isArray(roles)) {
        const roleList = roles.map((item) => item) as any;
        this.setRoleList(roleList);
      } else {
        currentUser.roles = [];
        this.setRoleList([]);
      }
      this.setUserInfo(currentUser);
      return currentUser;
    },
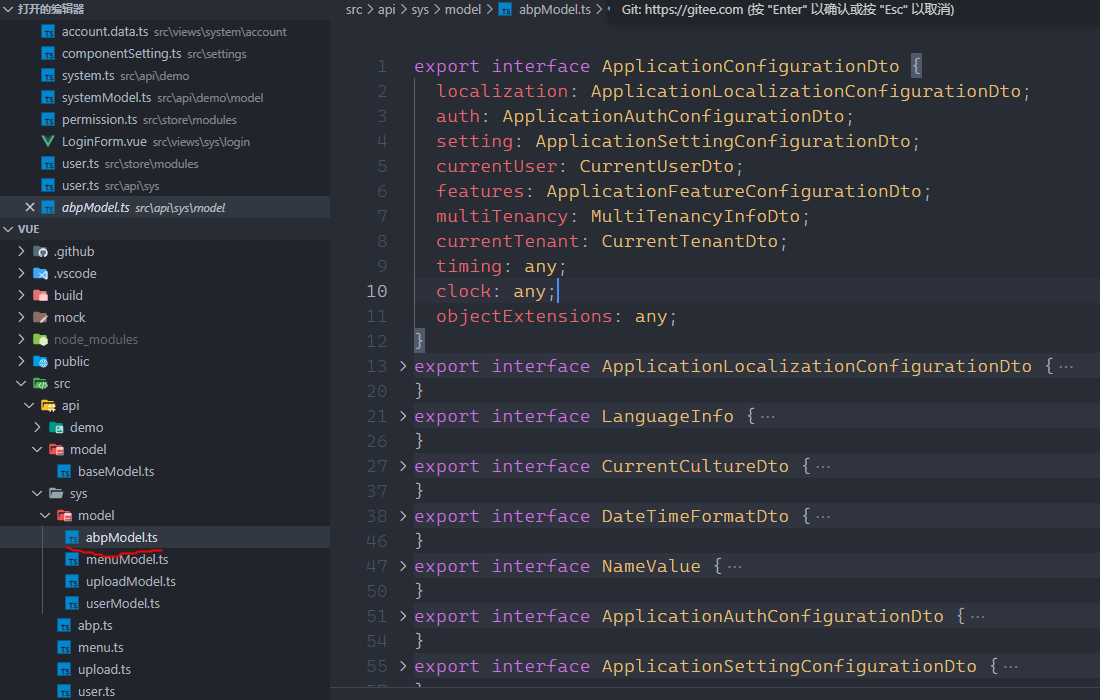
CurrentUserDto根据后台实体生成,可借助vs code插件C# to TypeScript快速生成TypeScript对象。使用方法为复制C#对象后右键粘贴时选择下面的选项即可自动生成。


找到/api/sys/user.ts文件,修改如下,需要添加headers并设置isTransformResponse为false。然后修改Login接口地址为/connect/token。
/**
 * @description: user login api
 */
export function loginApi(params: any, mode: ErrorMessageMode = 'modal') {
  return defHttp.post<LoginResultModel>(
    {
      url: Api.Login,
      headers: { 'Content-Type': ContentTypeEnum.FORM_URLENCODED } as AxiosRequestHeaders,
      params: params,
    },
    {
      errorMessageMode: mode,
      isTransformResponse: false,
    },
  );
}
新建abp.ts,创建ApplicationConfiguration接口。
import { ApplicationConfigurationDto } from './model/abpModel';
import { defHttp } from '/@/utils/http/axios';
enum Api {
  AbpApiDefinition = '/api/abp/api-definition',
  ApplicationConfiguration = '/api/abp/application-configuration',
}
export function ApplicationConfiguration() {
  return defHttp.get<ApplicationConfigurationDto>(
    {
      url: Api.ApplicationConfiguration,
    },
    {
      isTransformResponse: false,
    },
  );
}
配置项目跨域(.env.development)
VITE_PROXY = [["/connect","https://localhost:44351/connect"],["/api","https://localhost:44351/api"],["/upload","http://localhost:3300/upload"]]
在.env中修改项目端口号(VITE_PORT)为4200(根据自己的abp后台端口设置)。
全部修改完成之后可能会有报错,需要自行添加ApplicationConfigurationDto,根据需要没用的字段可以直接设置为any。

项目报错解决完成之后即可执行yarn run dev测试登录。
 微信
微信
 支付宝
支付宝
